

SENDING LOVE
Mail for kids to learn about the postage system.
— By Julie Hodos on July 4, 2024; Updated on December 3, 2025.

This post may contain affiliate links. Please refer to our disclosure policy.
If you’re looking for a simple yet magical way to keep your little ones engaged while teaching them about kindness, creativity, and even a bit of real-world logistics, then this mail for kids activity is your new go-to. Many folks associate handmade cards with Valentine’s Day, and sure, it’s a classic for February 14th. But why limit the love to just one day? Hearts, hugs, and heartfelt messages aren’t seasonal—they’re timeless!
Table of Contents

Imagine your child gleefully crafting cards loaded with glue, stickers, and heaps of personality, then trotting off to the mailbox to send them zooming to loved ones. It’s not just about the art; it’s a hands-on lesson in the postal system that ends with a delightful surprise. Stick with me, and I’ll walk you through every step in a friendly, practical way. We’ll turn this into an adventure your kids will beg to repeat!
The Spark of Inspiration: A Whimsical Book to Kick Things Off
Let’s start at the beginning—what inspired this whole “mail for kids” extravaganza? It all comes from a charming little book called The Day it Rained Hearts by Felicia Bond. If you haven’t read it yet, picture this: a sweet story about a girl named Cornelia Augusta who wakes up to a sky showering hearts like raindrops. She collects them, pondering which one suits each of her animal friends perfectly—a fluffy one for the bunny, a shiny one for the turtle, you get the idea. Then, she turns them into valentines and mails them out. It’s whimsical, heartfelt, and the perfect prelude to your own crafting session.
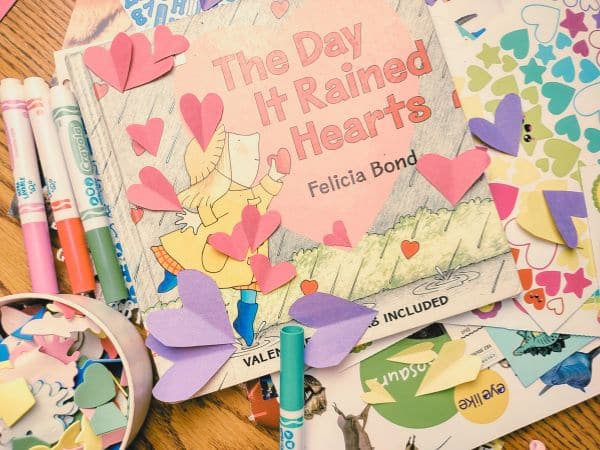
Why do I love recommending this book? It’s short enough for preschoolers’ attention spans, with adorable illustrations that spark imagination. Reading it aloud sets the stage: “What if hearts rained down on us? Who would you send one to?” Your kids’ eyes will light up! Practical tip: Check your local library first—it’s often available, and borrowing keeps things budget-friendly. If you want your own copy, it’s easy to find online. Read it snuggled up, then dive right into the heartfelt activity. This isn’t just story time; it’s the launchpad for empathy-building, as kids think about matching hearts to people’s personalities.
If your child is a bit older, say 4-6 years, extend the discussion: “How do you think Cornelia felt when her friends got the cards? Excited? Happy?” This plants seeds for emotional intelligence, showing how small acts of kindness ripple out. For toddlers, keep it simple—focus on the colors and shapes. Either way, this book transforms “mail for kids” from a craft into a meaningful story-driven experience.
More Storytime Magic: 5 Books to Fuel Your Mail for Kids Adventure
Why stop at one book when a whole stack can inspire? Here are five more picture books that tie perfectly into “mail for kids”—each one celebrates friendship, creativity, or the thrill of sending something special. Grab them from the library or your favorite bookstore, read aloud, then let the cards fly!
- The Thank You Letter by Jane Cabrera A joyful tale of a girl named Grace who writes thank-you notes to everyone—friends, family, even her toys. The colorful, collage-style art and upbeat message make it ideal for ages 3-6. Use it to inspire gratitude cards: “Who are you thankful for today?”
- Dear Juno by Soyung Pak, illustrated by Susan Kathleen Hartung Juno and his grandmother live oceans apart, so they communicate through letters and small gifts. This gentle story introduces international mail and cultural exchange for ages 4-8. Bonus: It comes with envelope flaps kids can open!
- The Jolly Postman by Janet & Allan Ahlberg A classic interactive book where the postman delivers letters to fairy-tale characters (Goldilocks gets an apology from the bears!). Pull real mini-letters from envelopes—pure delight for ages 3-7. Perfect for discussing how mail travels to magical places.
- Love, Mouserella by David Ezra Stein Little mouse Mouserella writes a long, chatty letter to her grandmother after a fun weekend. The scrapbook format (photos, drawings, ticket stubs) mirrors real kid art. Great for ages 3-6 to inspire multi-page “story cards.”
Read one (or all!) before crafting to keep the excitement bubbling. Set up a cozy reading nook with blank cards nearby—transition from story to stickers in seconds!

Gathering Your Crafting Arsenal: Make the Most of What You’ve Got
Now, onto the fun part: supplies! One of the best things about “mail for kids” is how it repurposes that jumble of craft materials lurking in your drawers. You know the ones—half-used sticker sheets from birthday parties, scraps of construction paper, that glitter bottle that’s been gathering dust. Haul it all out! This heartfelt activity is a fantastic way to declutter while sparking creativity.
Here’s a practical list to get you started, but remember, flexibility is key:
- Basics: Full sheets of construction paper or cardstock. Fold them in half or quarters for that classic card shape. Or cut a heart shape!
- Decorations: Stickers (hearts, animals, emojis—whatever’s on hand), glitter, crayons, markers, colored pencils.
- Textures for Fun: Tissue paper for crumpling into shapes, feathers, or other thin items. Just ensure they’re not too bulky if you’re mailing standard envelopes, so we skip the pom-poms.
- Tools: Safety scissors (for kids 3+), glue sticks or liquid glue, stamps and ink pads, stencils for easy shapes.
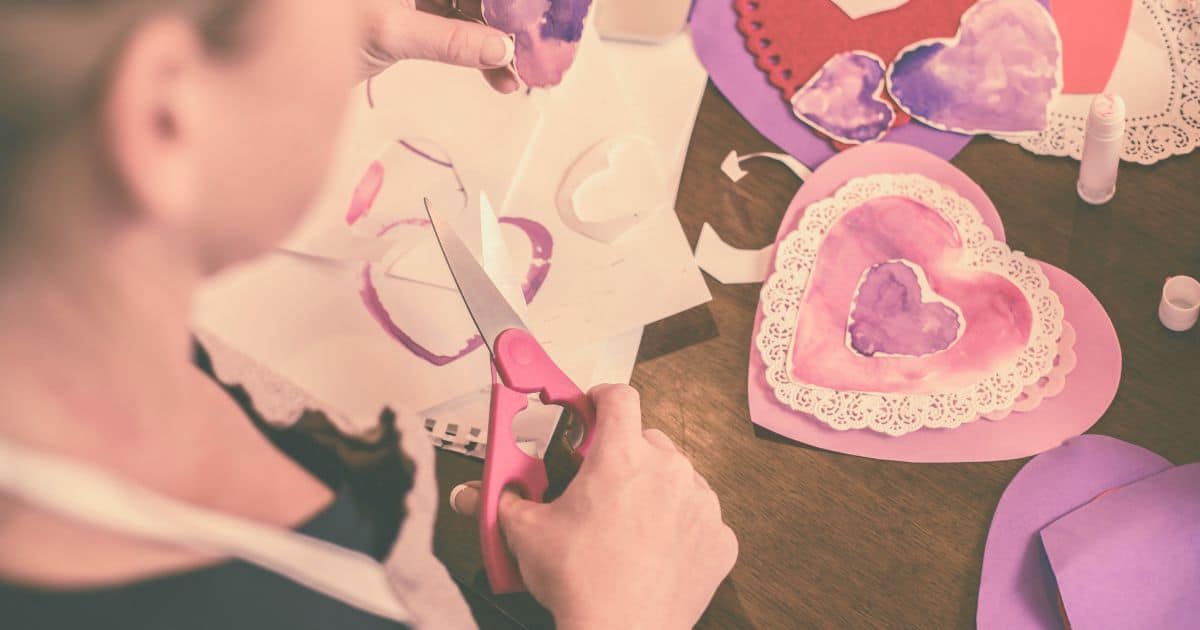
- Hearts Galore: If you’re short on heart stickers, make your own! Cut hearts from colored paper, magazines, or even old wrapping paper. Pro tip: Use the negative space (the paper left after cutting out hearts) as stencils or backgrounds—nothing wasted!
In our house, we didn’t have pre-made hearts last time we did this mail activity, so I quickly cut some from red and pink paper. My boys (ages 3 and 5) loved using both the cutouts and the scraps. The older one layered them for a 3D effect, while the little guy just piled on hearts. Is it messy? Absolutely. But that’s the joy—let them experiment!
Practical considerations: Think about mailing logistics early. If cards get too thick (hello, pom-pom overload!), they might need extra postage or a padded envelope. I keep a kitchen scale handy to weigh them—under 1 ounce usually needs one stamp, but bulkier ones might require two. Don’t have fancy supplies? No problem! Raid the recycling bin for cereal boxes or junk mail. This teaches resourcefulness: “See? We can make something beautiful from stuff we’d throw away.”
For variety, theme your supplies seasonally. In summer, add flower stickers or beach-themed doodles. Around holidays, incorporate festive elements without tying it strictly to one day. The goal? Encourage free expression while gently guiding: “What can we use to make this card extra special?” or “who are you sending this card to? What do they like?” If you’re a craft-hoarder like me, this is your chance to finally use those random beads or sequins!

Choosing Recipients: Personalizing the Mail for Kids Activity
With supplies scattered like confetti, it’s time to decide: Who gets these masterpieces? This is where “mail for kids” shines as a lesson in thoughtfulness. Involve your child fully—sit down together and brainstorm a list. Friends from co-op? Grandparents? A favorite aunt or uncle? Even the neighbor’s dog if it sparks giggles!
Make it interactive: “Who do you want to make smile today? What about Cousin Carolynn – she loves unicorns!” This builds decision-making skills and empathy. For far-away relatives, it’s a geography mini-lesson: “Grandma lives in Michigan; that’s far, so the mail truck has a big job!”
Customization is the heart (pun intended) of it. As they craft, chat about the recipient: “What’s Uncle Tree’s favorite color? (Yes, that’s what my boys call their uncle) Red? Let’s use lots of red hearts!” My 5-year-old once made a sea-themed card for his ocean-loving grandparents—complete with fish stickers and wavy blue lines. My 3-year-old? He slapped on rainbow poop emojis for his grandpa because, well, boys find that hilarious. It’s their expression of love!
Practical tips for smooth sailing:
- Set a limit: Start with 3-5 cards to avoid overwhelm.
- Age-appropriate help: Toddlers might just scribble and stick; older kids can write simple messages like “I love you.”
If mess happens (and it will), have wipes ready. Dry time is crucial—gluey cards need 30-60 minutes. Use this wait to read another book or snack. The result? Cards that scream “made with love,” ready for their postal adventure. To extend personalization, encourage drawing portraits of the recipients or adding inside jokes— it makes each card uniquely memorable.
The Mailing Magic: A Hands-On Postal System Lesson
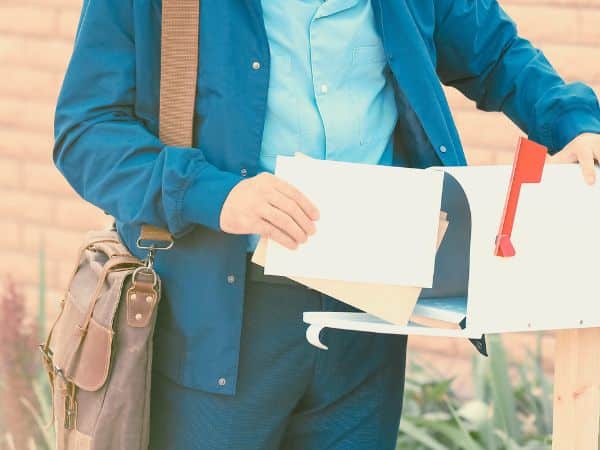
Creations complete? Now comes the educational thrill: mailing them! “Mail for kids” isn’t just artsy; it’s a practical intro to how the world connects via the postal system. Explain simply: “The post office is like a big team that carries letters from our house to others, using trucks, planes, and working people.” Check out this video from YouTube specifically for kids to learn about the post office.
Step-by-step guide—keep it friendly and supervised:
- Prepare the Cards: Fold them neatly. If they’re bulky, flatten gently. Lesson learned: My son once folded one wonky, and it returned undelivered because it was too bulky. I now am the official designated folder.
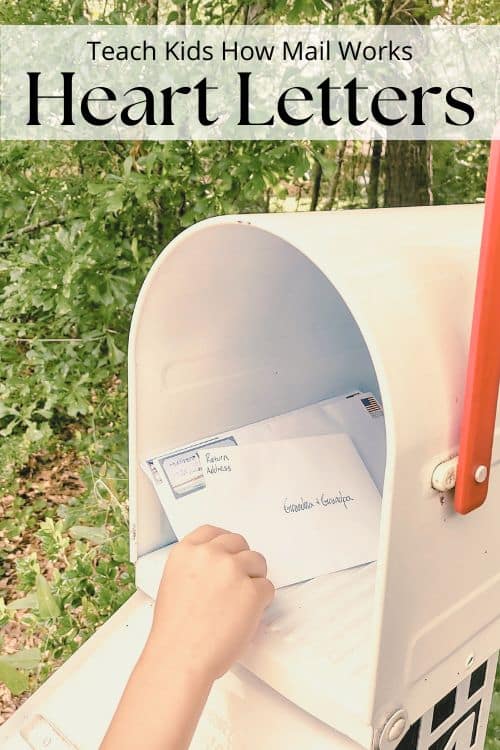
- Addressing Envelopes: Use standard envelopes (grab a pack cheaply at the dollar store). Write the recipient’s address in the center, your return address top-left. Read aloud as you go: “This is Grandma’s street, city, state, zip code.” Let kids add stamps—top-right corner. Explain: “Stamps are like tickets for the mail to travel.”
- Postage tip: Weigh at home or the post office. One forever stamp for light letters; extras for weight. Fun fact: Stamps come in fun designs so you can always take your child along to buy some and let them pick out a theme!
- Stuff and Seal: Kids love this! Slide the card in, lick or sticker-seal the flap. If they’re grossed out by licking, use tape.
- To the Mailbox: Walk together -safety first near roads. Raise the flag: “This tells the mail carrier we have outgoing mail!” If your delivery is predictable (ours is around 3 PM), watch the pickup. “See? The mail person takes it to the post office, someone else sorts it, and sends it on its way to where it needs to go.”
Waiting is part of the fun—track excitement with a calendar: “How many days until it arrives?” For international sends, discuss time zones. This builds patience and anticipation.
One hiccup? If a card returns, turn it positive: “Oops! Let’s fix the address and try again.” It’s real-life problem-solving. For an extra layer, visit your local post office together -many offer kid-friendly tours or stamp collections to explore.

The Surprise Ending: Closing the Loop with Joy
Here’s the cherry on top—the surprise ending that ties “mail for kids” together! Once cards arrive (usually 2-7 days domestically), ask recipients to snap a photo holding it or video chat showing their reaction. “Look, sweetie—Grandpa got your card and he’s smiling ear to ear!”
Why this matters? It shows the full cycle: create, send, deliver, receive. Your child sees their effort’s impact, boosting confidence and reinforcing kindness. Practical ways:
- Text or email for photos.
- Schedule a quick FaceTime: “Tell us what you liked about the card!”
- For non-tech-savvy folks, a thank-you note back extends the fun. And regardless of whether a text or video chat closes the loop, a return card in the mail will always light up your child’s face so encourage the reciprocity.
My kids beamed seeing their grandparents’ delighted faces—it made the abstract postal system tangible. Bonus: Collect these moments in a scrapbook for future nostalgia. I usually pre-warn family that they have mail arriving but if no response comes, gently follow up.

Developmental Boosts: Why “Mail for Kids” Builds Key Skills
Beyond the fun, “mail for kids” packs a punch in child development. For fine motor skills, all that cutting, gluing, and folding strengthens little hands—prepping them for writing and buttoning shirts. Creatively, it encourages self-expression and problem-solving: “How can I make this heart stick without falling off?” or as my eldest did, included a handful of cut out hearts in his card so his grandparents would receive a shower of confetti hearts.
Social-emotionally, it’s gold. Kids learn empathy by tailoring cards to others’ likes, and the act of giving fosters generosity. Literacy gets a nod too—writing names or simple words, addressing envelopes introduces letters and sequencing.
For different ages:
- Toddlers (1-3): Focus on crafting with stickers and colors. Then the placing the letter in the mailbox and closing the loop.
- Preschoolers (3-5): Add basic writing and decision-making. Plus focus on the template of the envelope to successfully send a letter.
- School-age (5+): Incorporate messages and geography.
Studies show such heartfelt activities enhance emotional regulation—kids feel proud seeing their work appreciated. Practical tip: Track progress over repeats; you’ll see confidence grow.
Troubleshooting and Safety: Keeping It Smooth and Secure
Bumps happen—wet glue disasters or lost mail. Prep with plastic tablecloths for easy cleanup. If cards are too bulky, test-fold one first. Safety-wise: Supervise scissors, avoid small parts for under-3s, and hold hands near streets. If motivation dips, break into sessions: Craft day 1, mail day 2. These tips ensure frustration-free fun.
Group Play: Involving Siblings or Friends
Scale up for playdates! Set a crafting station—each kid makes cards for shared recipients. It teaches collaboration: “You do stickers, I’ll cut hearts.” For siblings, assign roles to avoid squabbles. Group mailing? A mailbox parade! This builds teamwork and multiplies the joy.

Why “Mail for Kids” is a Win: Benefits and Tips for Repetition
All said, this heartfelt activity is play-based learning at its best. Creatively, it hones fine motor skills through cutting and sticking. Educationally, it covers addresses, stamps, and logistics—early civics! Emotionally, it fosters love-sharing, empathy, and gratitude.
We usually do it twice yearly: Valentine’s and during the summer. Adapt for themes—birthday cards, thank-yous, or “just because.” Share your twists! What supplies did you use? Drop a comment—maybe foam hearts or glow stickers? Remember, every day is prime for spreading love.
Loved this? Dive deeper with more Heart Activities for Kids. There you have it—a full-fledged guide to “mail for kids” that’s friendly, practical, and packed with heart. Give it a whirl; your family will thank you. Spread that love!
Mail for Kids
AT A GLANCE ACTIVITY INSTRUCTIONS
Materials
- Envelopes
Postage stamps
Construction paper
Craft glue
Markers, crayons, and/or colored pencils
Paint
Any of the items listed
Sparkles
Googly eyes
Feathers
Thin yarn
Foam sticker shapes
Sequins
Buttons
Ribbons
Any item you can think of to decorate hearts with (keep in mind they will need to fit in an envelope and ship i.e. no pom poms, etc.
Instructions
Prepare the Hearts
- Draw or cut out hearts using construction paper. The age of your child will determine how much they can help with the cutting.
- Be sure to include large and small hearts. Once they’re cut, set up different stations for the various crafting items (painting station, glitter station, etc.).
- Give your child the glue and let them have fun making the hearts beautiful.
- Encourage your child to have a person in mind with each heart and ask them what they plan to do with each heart before they begin.
- Sit with them and assist them as much as needed and work on some yourself, whether that’s cutting out smaller ones so that the receiver of the letter will open up a confetti of hearts or a couple of larger ones.
- Allow the creations to dry as needed, you will need to be the one to encourage this so it doesn’t become a gluey, painty mess!
Prepare the envelopes
- While the creations dry, now is the time to prepare the envelopes. Write the address and return address on the envelope explaining to your child the difference between the two and how placement ensures proper delivery.
- Allow your child to stick on the stamp.
- Once the heart crafts are dry, you can write a special message on the back of their creation or include a little message on a plain heart.
- Now, place the designated hearts in their envelope. Keep in mind some may need extra postage depending on how much your child decorated. Weight and size determine this.
- Help your child place them in the mailbox and raise the flag.
Send pictures
- We’re almost done! Lastly, ask the recipients of the letters to send a picture of themselves with their heart to show your kiddo. This will really drive home the point of how the postal service works.
Recent Posts on the Blog


Sounds like an awesome activity. I’m going to make sure I do this with our kids!